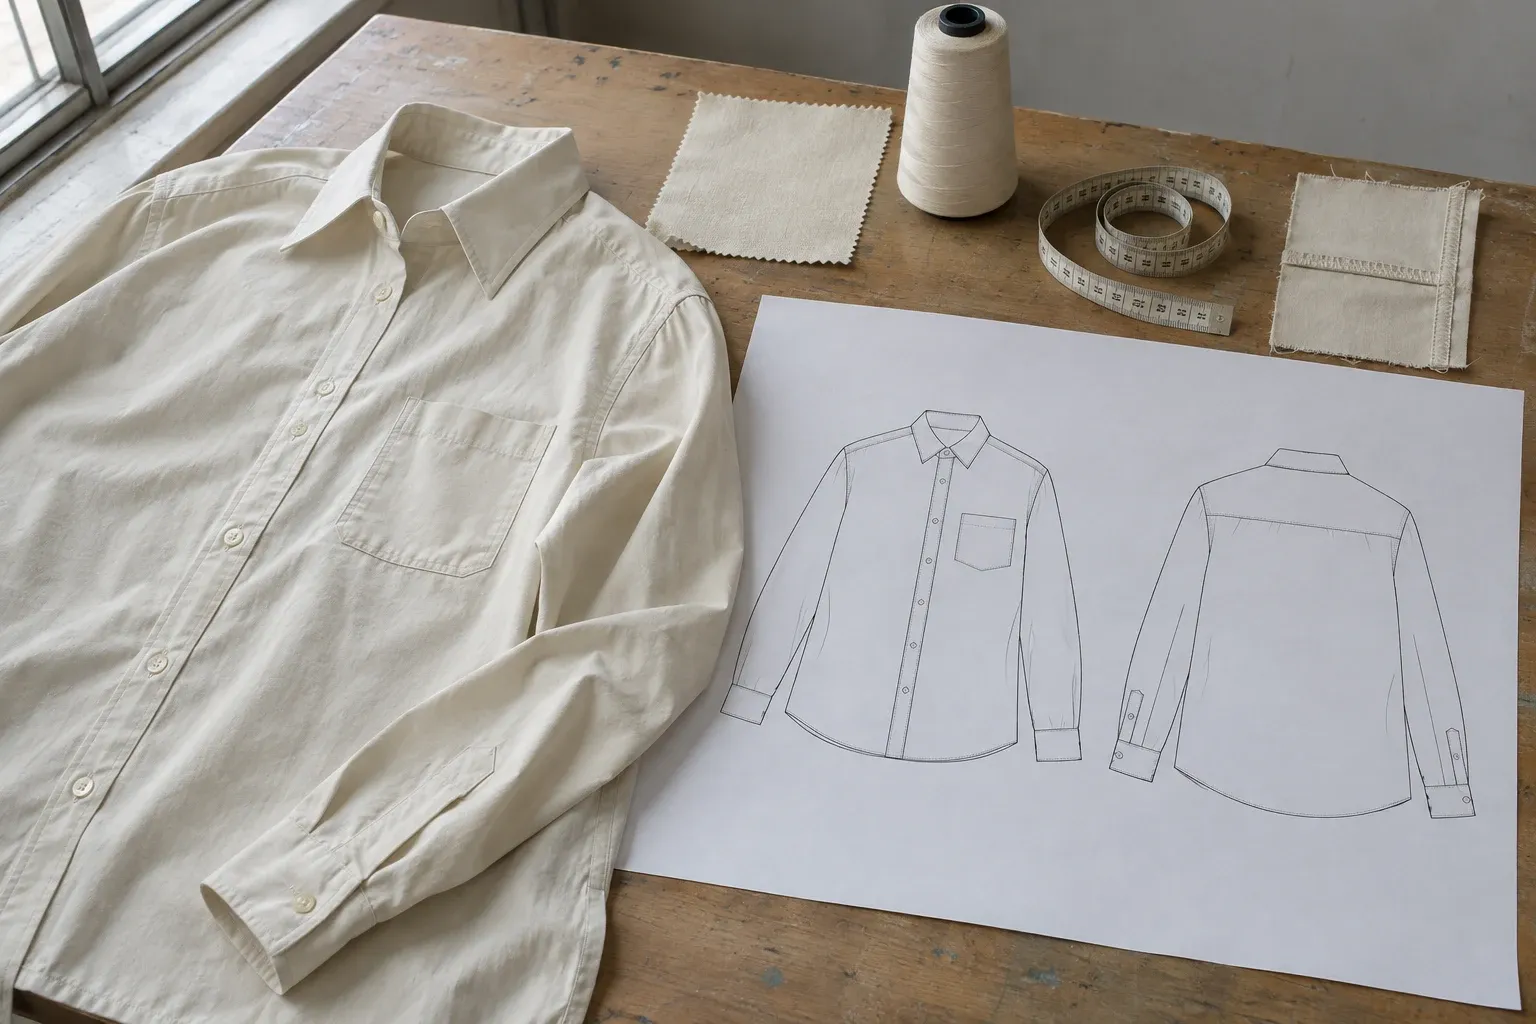
How to Create a Garment Tech Pack: A Complete Checklist from Technical Flats to Production Approval
Organize technical flats, fabrics and trims, measurements, construction and revision records so patternmaking, quotations and production use the same clear information.
A tech pack is a product's working specification. Designers need proportions and character; patternmakers need structure; purchasing needs materials; production and quality control need making and checking criteria. A good tech pack connects these rather than merely puts every image and table in one folder.
Organize Information in the Order Recipients Open It
The first page should identify the product: style code, name, front and back views, purpose and current development stage. Follow with materials, measurements, construction, decoration and packaging. Keep revision records accessible so recipients know what to review this time without searching every page for changes.
Styles need not have identical page counts. A simple short-sleeved top differs from a lined jacket with removable parts. Give a section its own page when it contains a structure or file requiring independent confirmation. More pages do not establish completeness; information that cannot be located does not take effect simply because it was sent.
This article uses a casual shirt as a documentation example, not a real order. It illustrates fields and wording without prescribing product parameters or delivery commitments.
Front and Back Views: Connect Visible and Hidden Construction
Draw structures affecting patterns and manufacturing: collar, placket, yoke, sleeve placket, pockets, vents and hem. Distinguish decorative topstitching from joining seams, using detail views for concealed openings and internal construction. Do not expect a patternmaker to guess a garment's back when it is obscured in a photograph.
Anchor annotations to parts instead of scattering them in blank space. For example, link ‘wearer's left chest patch pocket’ to its detail view, dimensions and reinforcement requirements. Use the wearer's left and right consistently throughout. Explicitly mark asymmetric decoration on otherwise symmetric styles to avoid automatic mirroring in production.
An Example of a Detail Instruction
Example: Left chest patch pocket; see detail drawing for opening and pocket-body construction. Opening reinforcement positions are marked. Use the approved panel as the appearance reference. If shell fabric changes, recheck opening flatness and pocket-body drape.
Compared with ‘make a refined chest pocket’, this defines location, structure and review scope without substituting design language for production-floor technical judgment.
Bill of Materials: Make Every Material Identifiable
List shell fabric, interfacing, pocketing, thread, buttons and labels separately with usage locations. Fabric records may include supplier code, composition, construction, weight, usable width, color standard and finishing. Trim records should support actual purchasing: button material, appearance, size and attachment, or zipper type, length and location.
State what is missing from incomplete records. Distinguish supplier specifications from desired performance: ‘supplier describes it as water-repellent’ differs from ‘requirements validated by the agreed method’. Relevant project parties should separately verify target-market labeling and product requirements.
Use these simplified entries to check whether materials can be purchased:
- Shell fabric: used for body and sleeves; link to a physical swatch code and state whether regular supply is from the sample's batch.
- Interfacing: used in collar stand and placket; link to a composite sample and specify intended feel and appearance after fusing.
- Buttons: identify placket and cuff configurations separately, distinguishing temporary display-sample trims from approved production trims.
- Labels: reference final main-label, size-label and care-label files separately rather than one low-resolution photograph.
For substitutes, state what they may validate. A substitute button may establish approximate proportion without approving actual fastening feel. Retaining substitute conditions tells later recipients whether additional validation is needed.
Measurements and Construction: Turn Drawings into Checkable Products
Every measurement point in the chart should appear in the measuring diagram. Starting point for length, flat versus full circumference, fastened versus open closures, and relaxed versus agreed stretched conditions all affect results. Specify units, then agree tolerances and size specifications. Do not copy every measurement from another style.
Dimensions and structure are linked. Sleeve-length changes may affect placket and decoration positions; collar changes may affect the collar-stand/placket junction. The tech pack should expose these relationships instead of treating each number as an independent input.
Focus construction pages on easily misunderstood areas. Use general instructions for standard seams and detail drawings for special openings, binding, internal finishes and reinforcement. Keep stitch length, thread and production settings pending where panel validation is needed, instead of filling in unsupported universal parameters to look professional.
For printing and embroidery, reference production-ready files, actual dimensions and placement. For washing or other garment finishing, identify the target sample and acceptable natural variations by area. Retain physical references when words alone cannot adequately define final appearance.
Synchronizing One Sleeve-Length Change Across the Tech Pack
Record the original issue first: does the cuff cover the hand during wear, or does static sleeve length depart from the design? This affects the adjustment. Once decided, update the measurement target, confirm cuff position in drawings, revise sleeve/placket relationships in the pattern and review sleeve artwork. Explicitly retain an unchanged cuff to avoid unrelated rework.
Revision records need only highlight changes and their effects. Continually appending old comments on one page obscures which are obsolete. Retain history alongside one complete current execution set; do not expect the production floor to assemble final instructions from scattered files.
Write packaging information for the actual product. Individual sales and coordinated sets involve different size pairings, labels and carton assortments. Drawings can show folding direction, assortment instructions should match the order, and label files must be directly usable. Do not leave ‘standard packaging’ to determine customers' combinations at the packing stage.
Deliver files suited to both review and production. Preview documents should be easy to check; artwork and label production files must retain usable dimensions and clarity. State how they correspond. Enlarging a screenshot cannot recover original detail. Request missing files rather than guess lines or text on the production floor.
Finally, compare the tech pack and approved sample side by side. Resolve conflicts into a shared reference instead of assuming photographs, text or physical samples inherently take priority. Documentation supports execution; identifying unresolved details is more valuable than marking every page complete.