What to Inspect in Bulk Garments: Appearance, Measurements, Function and Packaging
Review inspection scope, recording methods and delivery approval conditions, from approved documents to corrective-action verification.
Bulk inspection is not another sample review. It asks whether actual goods meet agreed conditions, how far identified issues extend and whether goods can ship after correction. Agree methods, sampling and acceptance criteria at the order stage; deciding them on site invites disputes.
Define the Inspection Population Before Arrival
Organize style codes, colors, sizes, quantities, batches and packing status, confirming agreed inspection-readiness conditions. If only part is complete, the report must not appear to cover the entire order. Clearly record inspected scope and uninspected portions.
Inspectors need approved samples, measurement charts and diagrams, material and color standards, decoration requirements, label and packing files, and an agreed sampling plan. Resolve physical/document conflicts into a clear reference rather than letting on-site staff choose by experience.
For special functions or market requirements, confirm required reports, covered materials or batches, and feasible on-site checks. Visual inspection identifies manufacturing conditions but cannot replace every performance and compliance validation.
When Opening a Carton, Preserve Evidence of Origin First
Record sampled carton numbers and each sample's color, size and batch so issues remain linked to their actual scope. Do not mix products from different origins before recording them. Source information helps determine whether recurring issues concentrate in one combination or extend across the style.
Check quantities and packing configurations before unfolding garments. Correspondence among carton marks, bag labels, garment labels and packing lists directly affects receipt. For sets or mixed-size packing, inspect the combination logic rather than only the total individual-piece count.
Photograph representative original packing so later reviews of folding, assortments or labels need not rely on memory. Use photographs as records, rather than choose only the neatest carton to represent the batch.
Inspect Appearance from Overall Proportion to Details
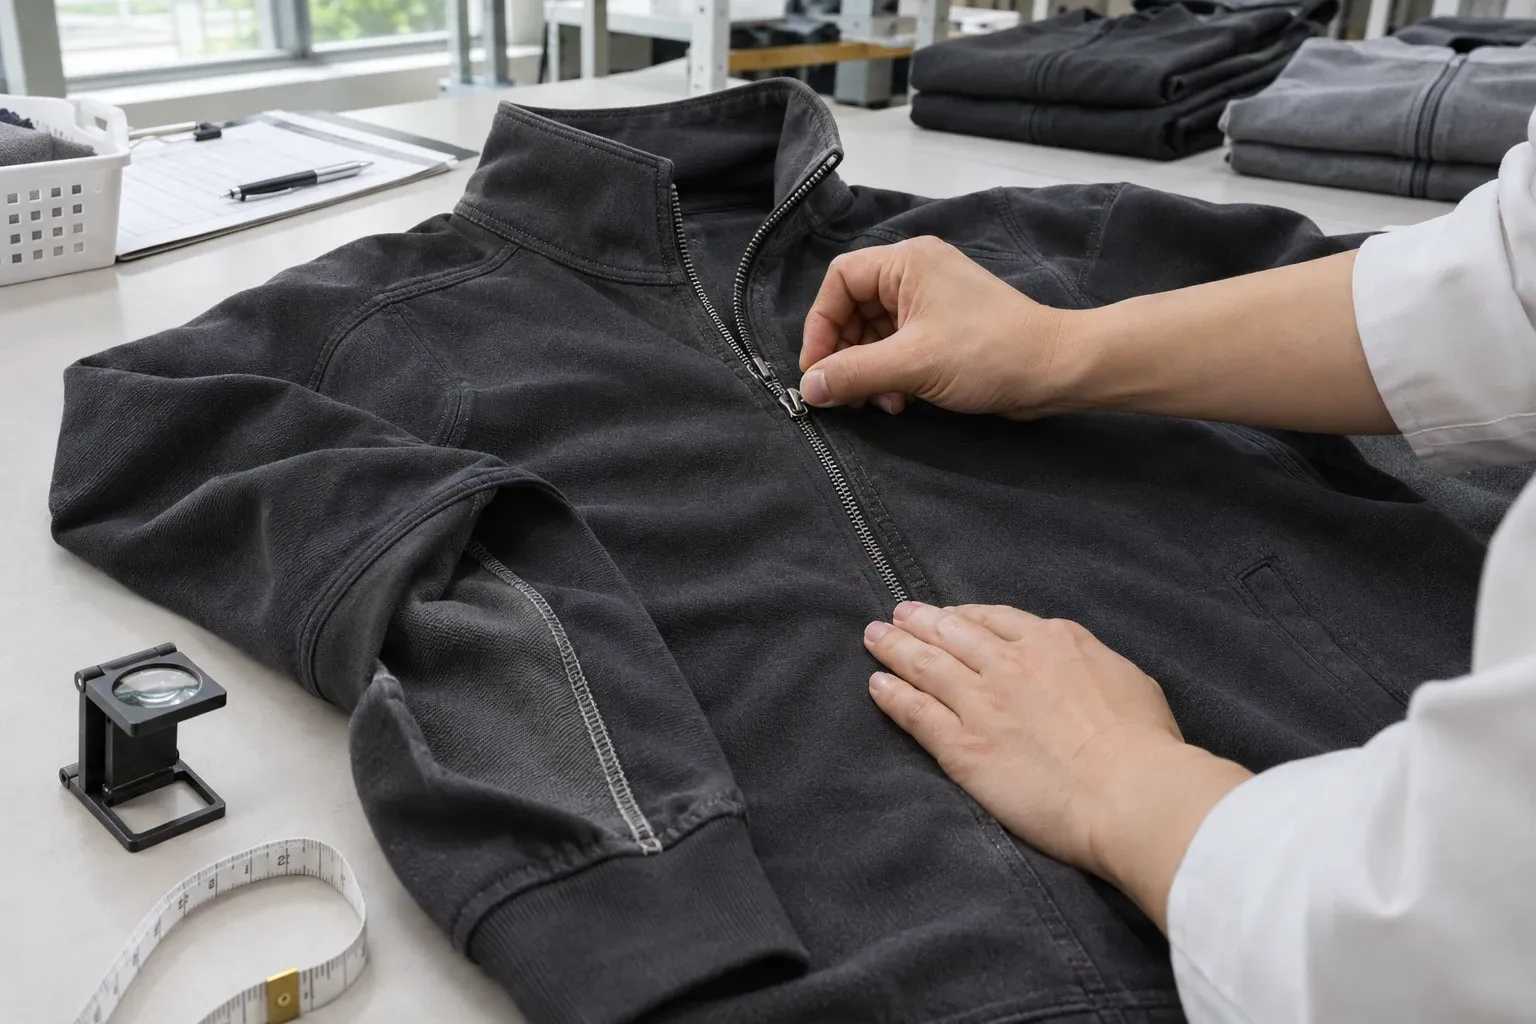
Arrange garments naturally and first assess front/back balance, symmetry, shade variation, stains, twisting and pressing. Then inspect neckline, placket, cuffs, pocket openings, zippers, hem and decoration according to structure. For dark, shiny or textured fabrics, vary viewing angles to identify observations while retaining agreed judgment conditions.
Descriptions should let absent readers locate the issue. Write ‘waviness at the outer edge of the left front pocket opening, visible laid flat naturally; photographs show overall location and detail’, rather than ‘poor pocket workmanship’. Include locating views and close-ups, adding a scale reference where needed.
Classify defects and severity under the agreed plan. The same observation can have different implications for different uses; this article cannot set universal order acceptance limits. Preserve evidence of an unanticipated structural issue potentially affecting normal use and refer it for assessment, rather than hastily force it into a grade.
Measurement Records Should Show Deviations, Not Just ‘Pass’
Use development-stage measuring methods. Flat placement, closure, direction and elastic-area condition can change readings. Check tools and units first, particularly avoiding confusion between half and full circumferences.
Retain targets, allowable ranges and actual results with sample origins. For a marked deviation, remeasure first, then expand relevant checks according to plan. One anomaly does not automatically establish total loss of control, but other passing pieces do not justify ignoring it.
Distinguish defective-piece counts from defects per piece. The same issue spread across sizes and cartons may require different investigation from one concentrated in a single source. A source-free total cannot adequately support diagnosis and correction.
Example: Sleeve length deviates in one size; checking the measuring start point confirms the result. The same size in that carton and other cartons requires further review by the agreed method. This illustrates recording and verification order, not sample quantities or an acceptance conclusion.
For post-care checks, record sample codes and treatment conditions rather than directly compare one unwashed piece with a different washed piece. Explicitly mark pending validation if on-site time is insufficient.
Operate Closures, Storage and Adjusters According to Actual Use
Check more than whether a zipper closes: inspect placket interference, edge alignment and surrounding material catching. Inspect pocket openings, bags and internal seams, loading intended items to assess structure. Use buckles, drawcords and elastic as intended rather than judge them only flat.
Record location and sample origin for loose buttons, snaps or other fasteners, unusual appearance or operating issues. Use agreed methods and criteria for pull-strength or other performance validation. A casual tug may reveal an obvious issue but is not a formal performance conclusion.
Inspect the inside too. Skin-contact areas, seam finishes, backing edges and thread ends can affect experience even when absent from appearance photographs. Scope depends on category, use and shared requirements.
Close the Loop on Packaging and Shipping Information
Main, size and care labels, hangtags and barcodes should match approved files. For mixed colors or sizes, check bags, cartons and packing lists at each level so correct individual pieces do not form incorrect combinations. Confirm pairing and label relationships for sets too.
Then check carton integrity, sealing and number continuity, ensuring receiving information is readable. Record packaging damage and unclear identification separately from garment manufacturing issues for appropriate handling. ‘Check after packing’ must not make them disappear from the final report.
What to Recheck After Corrections
A correction plan should first define goods and coverage, then how completion will be demonstrated. For shared material lots or operations, consider related products rather than repair only sampled pieces. Include neighboring areas if rework may affect them.
After moving a pocket opening, inspect needle holes, marks and surrounding fabric as well as the original location. After zipper replacement, recheck placket alignment and operation. Retain the original issue, corrective action and reinspection result for traceability; replacing old photographs with new ones does not close an issue.
Final delivery status depends on the agreed plan and actual results. On-site inspection gives purchasing, production and receiving teams the same verifiable information about the batch and explains how remaining items affect shipping.