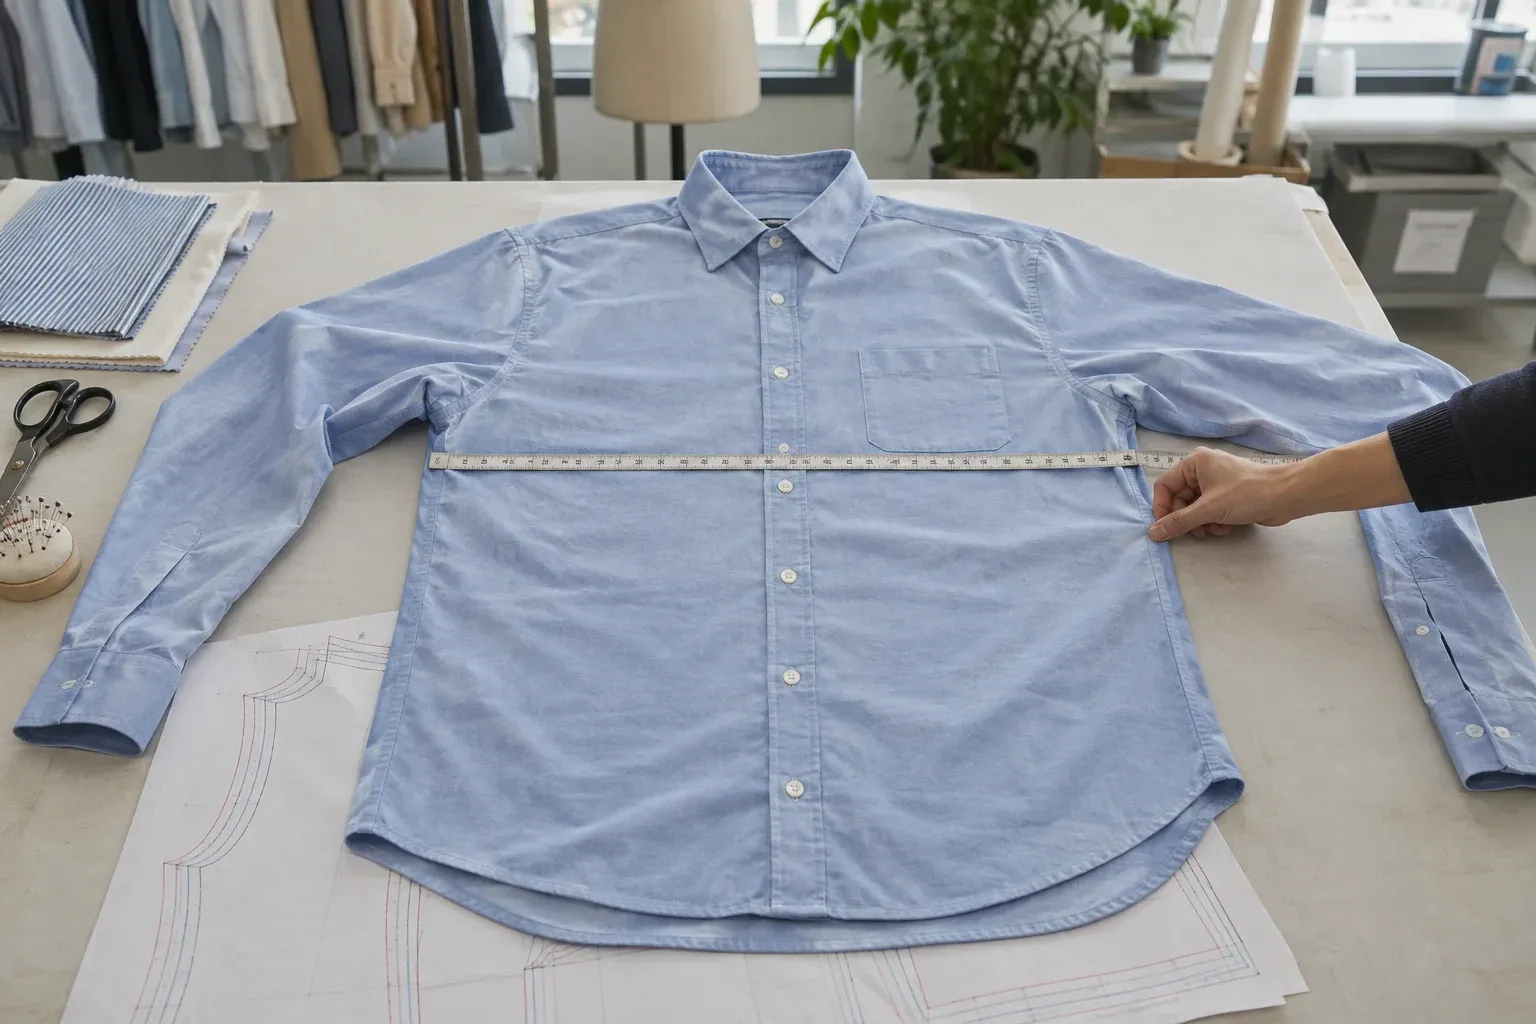
Confirming Size Charts, Grading and Fit: Measurement Management in Garment Development
Connect the base size and measurement points with tolerances, size proportions, movement fittings and post-wash review in one approval process.
Measurement charts establish dimensions, fitting establishes the wearing experience, and grading establishes how proportions extend across the size range. They are linked but cannot replace one another. Assess them on the same sample to avoid passing every measurement while leaving wear problems unchanged.
Define the Base Size's Role First
The base size is the reference for pattern revisions and comparisons across sizes, not necessarily the best seller. Select it using target wearers, existing patterns and fitting conditions. Fitted tops, relaxed shirts and layered jackets have different assessment goals and cannot simply share ease and fitting requirements.
Consistent fitting conditions help: underlayer thickness, closure status, footwear and carried items. Record relevant body measurements and use them under established team authorization and information-management practices. Identify changed wearers or conditions instead of attributing every visual difference to the pattern.
Four Questions for Every Measurement Point
Where does it start, where does it end, what state is the garment in, and which unit is used? Length from high-point shoulder or center-back neck seam, flat waist or full circumference, and relaxed or specified stretched elastic waistbands all yield different results. Measurement diagrams make these agreements visible.
For a shirt with different front and back lengths, define separate points rather than one ‘garment length’. Specify measuring direction for curved and straight hems. For symmetric parts, compare both target dimensions and actual symmetry so a one-sided reading does not hide manufacturing differences.
Do not let different inspectors pull elastic areas to an approximate personal judgment. Agree methods and conditions for stretched measurements first. If operation cannot be consistent, discuss another suitable inspection method. Correct the method before collecting incomparable numbers.
When Measurements Pass but Comfort Does Not, Investigate the Symptoms
Preserve Evidence of Pulling During Forward Reach
Chest compliance alone does not establish suitable shoulder–sleeve mobility. Record pulling at the upper arm, back or armhole and any simultaneous hem ride-up. Let the patternmaker investigate the structure rather than repeatedly enlarge only the chest. An overly wide static body afterward may indicate the original problem was mislocated.
An Unstable Waistband When Seated Requires a Combined Assessment
Trousers that fit standing but slip or bind front or back when seated need joint assessment of waistband, seat, crotch length and leg circumference. Pocket contents and correct closure also affect judgment. Specific discomfort locations and actions help revisions more than ‘the trousers look odd’.
Do Not Blame Grading First for Side-Seam Movement After Washing
Compare before and after washing, checking material direction, cutting and finishing. Similar changes across sizes may extend beyond one size's proportions; a single markedly different size warrants review of its pattern and manufacture. Narrow material, structural and manufacturing causes with evidence rather than conclude from one photograph.
These are investigation examples, not exclusive diagnoses. Several factors may coexist, and corrections still require review under the original movements and conditions.
Validate Proportions in Grading, Rather Than Copying One Increment
Distinguish target measurements, tolerances and grading rules. Targets define each size, tolerances are agreed allowable deviations, and grading defines changes between sizes. One size's maximum permitted value is not the next size's target. Do not enlarge tolerances afterward merely to pass a sample.
Discuss tolerances by part function, material and manufacturing conditions. Dressing or fastening areas may need different acceptance judgments from decoration positions. The same measurement in stretch fabric and stable woven fabric must reflect actual use. No universal set suits all garments.
When extending from the base size, shoulder width, chest, armhole, sleeve width, neckline and length each serve a purpose. Trouser waist, hip, crotch length and leg circumference must likewise work together. Identical increments everywhere generally cannot preserve intended proportions; establish rules for the target audience and pattern.
First compare the base size with both ends of the size range to see whether the silhouette has drifted. Check whether pockets look relatively too small in larger sizes, cuffs hinder dressing in smaller sizes, and vents in longer styles still work when seated. These issues may extend beyond circumference measurements alone. For a broad size range or a collection shared by different groups, consider validation by group rather than forcing every size to follow the same structural logic.
Fit coordinated sets together. Top length and trouser waist height, hem volume and leg width jointly create proportions. Separate approval does not ensure a natural combined result. If customers may choose different top and bottom sizes, product information and packaging should support that choice.
Write Fit Records as Reproducible Observations
A long questionnaire is unnecessary every round. Choose essential use-related movements, record the sample, fitting conditions, action and observation, then add a matching photograph. Consistent angles across rounds often show changes more clearly than changing poses each time.
Example record: Cuff position meets the target while standing naturally; reaching forward produces back pulling, and the hem fails to fall back after arm raising. Retain body length next round and review movement and recovery after shoulder–sleeve adjustment. This illustrates recording, not a commitment to a structural solution.
Separate observation from suggestion. Wearers describe discomfort, patternmakers propose possible changes, and design assesses visual trade-offs. Writing one hypothesis as the only instruction may produce compliance without explaining whether the problem was solved.
Retain the limitations of fitting participants. One wearer can reveal problems but cannot independently represent the entire audience. For key styles or broad size ranges, validate under more suitable fitting conditions before deciding whether the cause is individual variation, sizing proportions or a shared structural issue.
Confirm the Actual Garment Again After Care
Use the agreed care method, remeasure once the sample reaches the mutually accepted measuring state, and retain before-and-after data. Check not just length and circumference but neckline, cuffs, placket, paneling and internal material combinations. Differing changes in shell and trims may first create local problems.
If post-wash results miss agreed targets, first verify consistent measuring and care conditions, then discuss material finishing, structure or pattern compensation. Increasing pre-wash dimensions alone does not automatically solve color, hand-feel or seam-appearance changes.
Final approval should define covered sizes and material conditions. Recheck affected items after later material substitutions, care-instruction changes or key structural revisions. Stable size management comes from comparable physical products and methods, not filling the entire chart once.