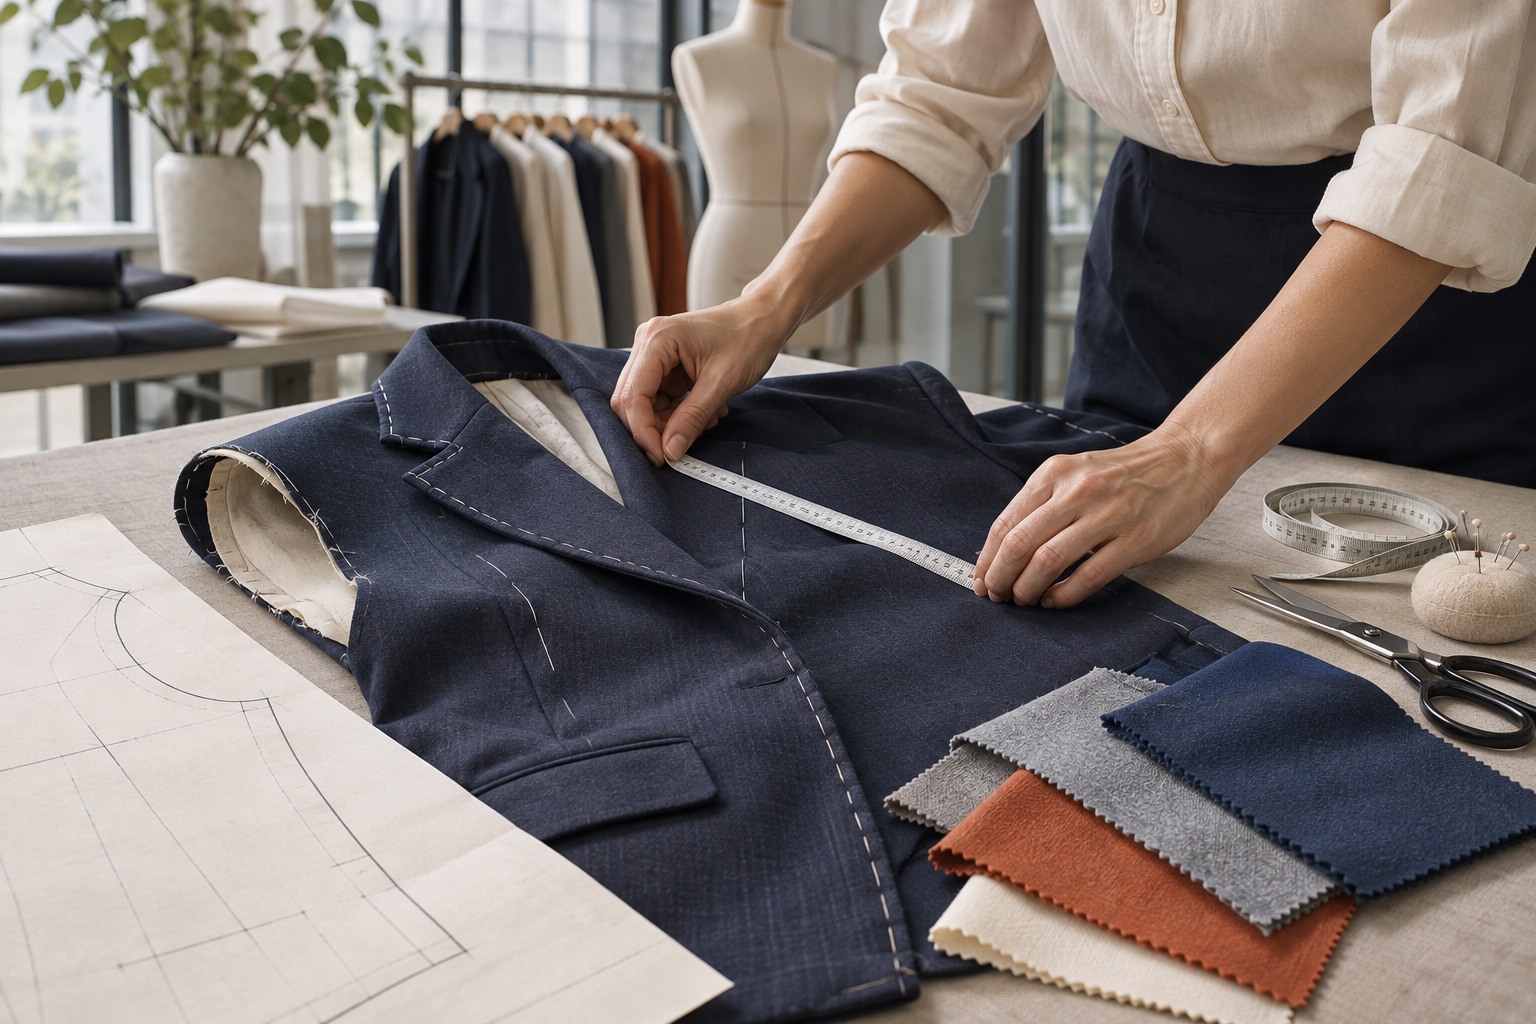
From Sample to Production-Ready Garment in 70 Days
Break fit, fabric, construction and measurements into approval checkpoints so the sample becomes a usable basis for production.
Even after a sample is approved, a project can remain stuck between material changes, quotations, sizing and production scheduling. Resolving this requires turning ‘the garment is finished’ into several evidence-based approvals: the visual direction works, the garment's structure works in wear, the materials and construction can be reproduced, and the order terms can be executed.
Treat the 70 Days as an Illustrative Schedule
The following uses the development of a standard shirt as a hypothetical example. The time blocks illustrate scheduling only and are not a delivery commitment. A project with an established pattern and stock fabric cannot follow the same fixed timetable as one requiring new fabric, washing processes or special trims.
Before scheduling, distinguish externally fixed dates from internal target dates. A launch date may be determined by a customer's event, while completion of the first sample depends on documentation, materials and capacity. If working backward from launch leaves no time for shipping, revisions and review, adjust the style, material sourcing route or launch arrangements instead of compressing every stage into a ‘rush job’.
Days 1–10: Put the Uncertainties on the Table
This stage should produce a product brief that lets the patternmaker start work, together with a clear set of questions to validate. First clarify the shirt's collar shape, shoulder proportions, length and intended use. Practical questions—whether special buttons can be sourced, whether a light color is see-through, and whether the shirt can still be worn without an underlayer after washing—should inform material selection and sample planning.
Material approval and pattern preparation can run in parallel, but check whether they depend on one another. A sample used to assess drape should use fabric that behaves similarly to the target material. If substitute fabric is used, approve only what it can demonstrate. Approving the overall silhouette of a soft, draping style in a crisp substitute fabric hides future rework inside the first ‘approval’.
The project brief can end with three statements: what this round must answer, what will not yet be assessed, and what result is required before moving to the next stage. This is more useful than filling a page with tasks.
Days 11–25: Use the First Sample to Resolve the Hardest Questions
Record the sample's original condition before fitting and measuring it. Immediately pressing it, pulling it flat or making temporary pin adjustments may conceal issues that need explaining. For uneven shoulders, a gaping placket or an unbalanced hem, photographs should show both the garment's overall proportions and the affected area. Avoid judging local wrinkles in isolation from how the garment is worn.
How to Write a Complete Sample Comment
‘The sleeves are a little tight’ can become: ‘There is pulling at the upper arm when reaching forward, with no obvious discomfort when standing still. Please review sleeve width, armhole and back ease together, then repeat the same movement after adjustment.’ This records the observation while leaving technical staff room to diagnose it, rather than having purchasing prescribe an incorrect fix based on a feeling.
After reviewing the first sample, separate comments into structural issues, material issues and visual preferences. While the structure remains unsettled, avoid approving artwork placement that depends on it. Label files or packaging content unrelated to that structure can continue.
Days 26–40: The Revised Sample Should Explain Why It Improved
If the pattern, fabric and decoration all change in the revised sample, even an improved result may not reveal which change worked. For conditions that strongly affect one another, make partial combination samples or retain a comparison sample first. The aim is not to split every revision mechanically into multiple rounds, but to preserve a basis for comparison in important decisions.
After softening a shirt's collar stand, assess both the collar shape and its condition after wear and care. After changing fabric, recheck whether the placket, cuffs and seams still lie flat. Shell fabric and interfacing do not necessarily behave alike; ‘similar composition’ cannot replace a whole-garment review.
Hold criteria at this stage also need to be specific. If material changes are ongoing, keep material-related approvals pending. If only the label color is undecided, state that it does not affect fit approval. Defined-scope approval, instead of a vague ‘everything is fine’, makes it easier for production preparation teams to determine what can proceed.
Days 41–55: Turn an Attractive Sample into a Product That Can Be Quoted
A quotation requires defined materials, size ratios, construction methods, quantities and packaging. At this stage, verify whether the cut-length fabric, temporary trims or special handwork used in development can become a reliable supply arrangement. Where sample-making differs from bulk production, use representative sample panels or a pre-production sample to establish whether the difference affects appearance.
- Fabric consumption: specify the fabric width and marker conditions, and whether directional fabric, stripes, checks or pattern matching affect utilization.
- Process planning: identify which operations require subcontracting and whether transfers and waiting time are included in the schedule.
- Trim supply: establish any minimum production requirements and whether colors or lengths need separate development.
- Packing ratios: confirm individual bagging, set combinations and the assortment within each carton.
Separate confirmed conditions from provisional estimates when requesting quotations. For unresolved conditions, ask the supplier to identify which items a change would affect. This helps prevent normal changes in assumptions from later being mistaken for arbitrary price increases or delays.
Days 56–70: Check the Handover Before Release, Rather Than Reviewing Images Again
The documents authorizing production should correspond: the measurement chart refers to the current pattern, the bill of materials identifies the materials actually supplied, construction instructions can be located on the approved sample, and packaging documents match the order assortment. Having someone who did not join the design discussions review these items can expose gaps that rely on verbal explanations.
Also check the transition from the first production piece to bulk production. If the same style is produced in different colors or batches, inspections should cover the relevant combinations. If using actual production equipment changes the appearance, establish why before continuing. Approval of the final sample does not automatically approve every subsequent change.
The schedule should include a buffer, but this is not a shared pool that any delay may consume. When a stage slips, reassess the downstream tasks affected. Late trims may change the assembly sequence; remaking fabric may require even fittings and post-wash approval to be rescheduled.
Also define whether ‘complete’ means documents have been sent, physical goods have been received, or a review decision has been made. In development across regions, shipping and review still take time between dispatching a sample and receiving comments. Combining these states into one date makes the schedule look compact without removing the actual waiting. List receipt and decision checkpoints so subsequent staffing and materials can be arranged.
If the Project Is Already Late, Make Three Assessments First
Immediately run independent tasks in parallel, such as label artwork unrelated to silhouette and logistics documents. Make explicit choices about adjustable scope, such as dropping unconfirmed decoration or using a validated color. Do not silently remove essential validation, such as key fastening functions or whole-garment performance in the actual materials.
Write the recovery plan as specific trade-offs so the team understands what speed costs. Ultimately, production readiness means the next person can execute using the documents and physical items, rather than everyone having nodded at a particular review meeting.