Knitted Cardigans: Stitch Texture, Necklines and Layering Proportions
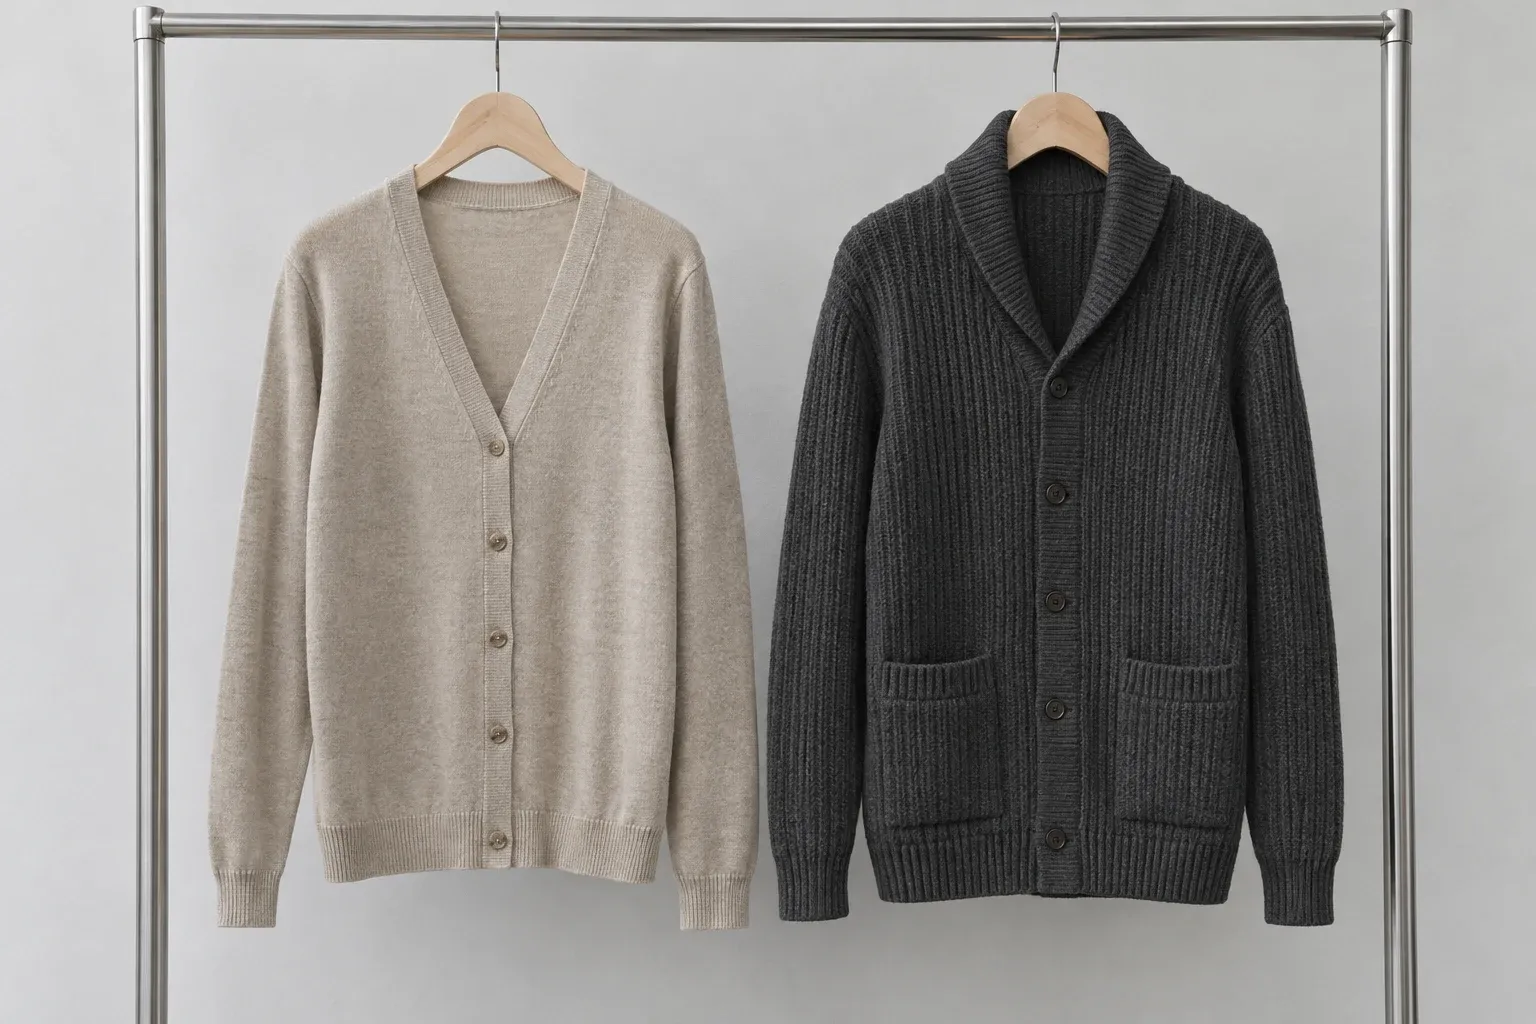
From fine-gauge V-necks to ribbed cardigans, explore yarn, placket and length relationships and priorities for garment and post-care validation.
Define the Cardigan's Layering Role First
Fine-gauge cardigans may sit close to the body or over light layers; thicker structures may serve as outerwear. Their body room, placket, neckline and pocket needs differ. Before yarn selection, define season, usual layers, fastened or open wear and care method to reduce repeated ‘softer or crisper’ discussions.
This article discusses design trade-offs through common sample observations, without presenting candidate stitch structures or colors as market-validated trends. Suppliers must confirm the final combination of yarn, needle type, stitch structure and finishing through actual manufacturing.
Look Beyond the Face Texture of Knitted Swatches
Equal-size swatches compare plain knit, rib and dimensional textures, but also assess thickness, stretch, recovery, reverse feel and edges. Record yarn information, stitch structure and finishing so apparently similar swatches can later be assessed for true interchangeability.
Record flat, hanging and gently stretched behavior separately. Successful local results still need whole-garment review, since plackets, buttons and pockets change weight and loading. An accessory-free swatch's drape does not establish the complete cardigan's behavior.
Uneven Plackets: Check Length Before Tracing Tension
Misalignment when buttoned may arise from local length, production tension, joining or material combinations. Check flat state and measuring conditions, then whether the issue persists in wear. Pressing alone may temporarily conceal a problem that returns after wear or care.
Check in this order:
- Compare approved samples and measurement records to establish left/right placket and body relationships.
- Compare buttoned and open states to see how buttons, buttonholes and placket weight move the front.
- Relate the issue location to stitch structure, joining and finishing before planning localized revisions.
These records are more actionable than ‘make the placket flatter’. Reassess after yarn, button or placket-width changes instead of simply carrying forward approved appearance.
A Turning Neckline: Distinguish Design Intent from Unwanted Behavior
V-necks, crewnecks and turn-down collars naturally behave differently. Agree how the neckline should fall when open before assessing its buttoned state. Otherwise, design may seek a soft roll while manufacturing repeatedly presses it flatter.
For persistent movement or concentrated bulk, examine neck structure, front drape and placket joining. Inner collar shapes and thickness affect photographs too, so keep conditions comparable. Identify the location and action first, then discuss stitch structures or joins.

Close-ups assess shaping, linking and edges; whole-garment views reveal neck/shoulder relationships. Retain both in approvals so later sampling does not perfect one stitch area at the expense of the silhouette.
Sagging Pockets Add More Than a Pocket Panel
Pockets add front weight, and contents alter tension. Lower placement and greater capacity increase the need for whole-garment assessment. Define visual versus actual storage use before shape, anchors and capacity; an appearance of practicality cannot substitute for purpose.
Load intended items and check displacement of openings, front and hem. To avoid visible distortion, compare smaller capacity, different placement or reduced bulk. After pocket approval, reassess buttoned and open because front support differs.
Cuff and Hem Contraction Determine Where Volume Stops
Stronger rib contraction creates bloused volume; relaxed edges create straighter silhouettes. Cropped, long and outerwear styles differ and require assessment with sleeve length, shoulder line and underlayers. Pushed-up sleeves may also influence everyday customer preferences.
Compare two edge solutions on one basic body, observing standing, sitting and repeated arm raising rather than flat width alone. If tight edges create bunching, examine body/edge compatibility. If loose, identify whether appearance, support or dressing needs improvement instead of indiscriminately tightening.
Care and Resting Conditions Change Measured Dimensions
Agree flat placement, recovery and measuring methods. A freshly hung garment may not match one rested differently. Record length, chest, sleeve and placket before and after care, then inspect stitch structure, fuzzing and seams to locate changes.
Retain three separate record types: yarn/material and stitch swatches, whole-garment wear and loading observations, and care review under project conditions. Each answers different questions. Performance marketing needs corresponding evidence; one internal observation cannot establish general durability.
For repeat-order changes in yarn lot, buttons or finishing, recheck approved references, particularly visual differences between same-color stitch structures. Reviewing old and new physical samples under similar light is more useful than comparing screen color codes alone.
Recover the Original Selection Reasons Before Substitution
Changed supply conditions do not justify direct replacement with visually similar yarn. Revisit why the original was chosen—defined texture, soft feel or particular drape—then assess whether substitutes retain these priorities in actual stitches and garments, rather than decide from a color card and composition sheet alone.
If a collection uses knit structures of different thicknesses, representative structures can be resampled separately rather than assuming one swatch can establish results for every style. Plackets, necklines and pockets are especially likely to reveal differences between material combinations, so review records should retain views showing these areas together. Clearly list any unconfirmed aspects of the substitute option so the project team can plan the next step.
Turn Diagnostic Records into Collection Assets
Once a cardigan works, expand lengths, collars, pockets and stitch structures without restarting everything. Identify confirmed conditions and new variations so later teams can choose suitable resampling scope.
For two undecided stitch options, define one next-round question—such as which better retains the intended neckline—instead of continuing to change many details together. This gives the sample a clear task and moves selection forward.
Review whole proportions, then stitch structures and details, then whether issues are resolved. A flatter placket, pockets no longer visibly sagging and better cuff positions after movement demonstrate progress more clearly than an added texture alone. Recording these improvements gives design and purchasing reusable assessment methods.