Denim: Straight-Leg Silhouettes, Wash Depth and Structural Lines
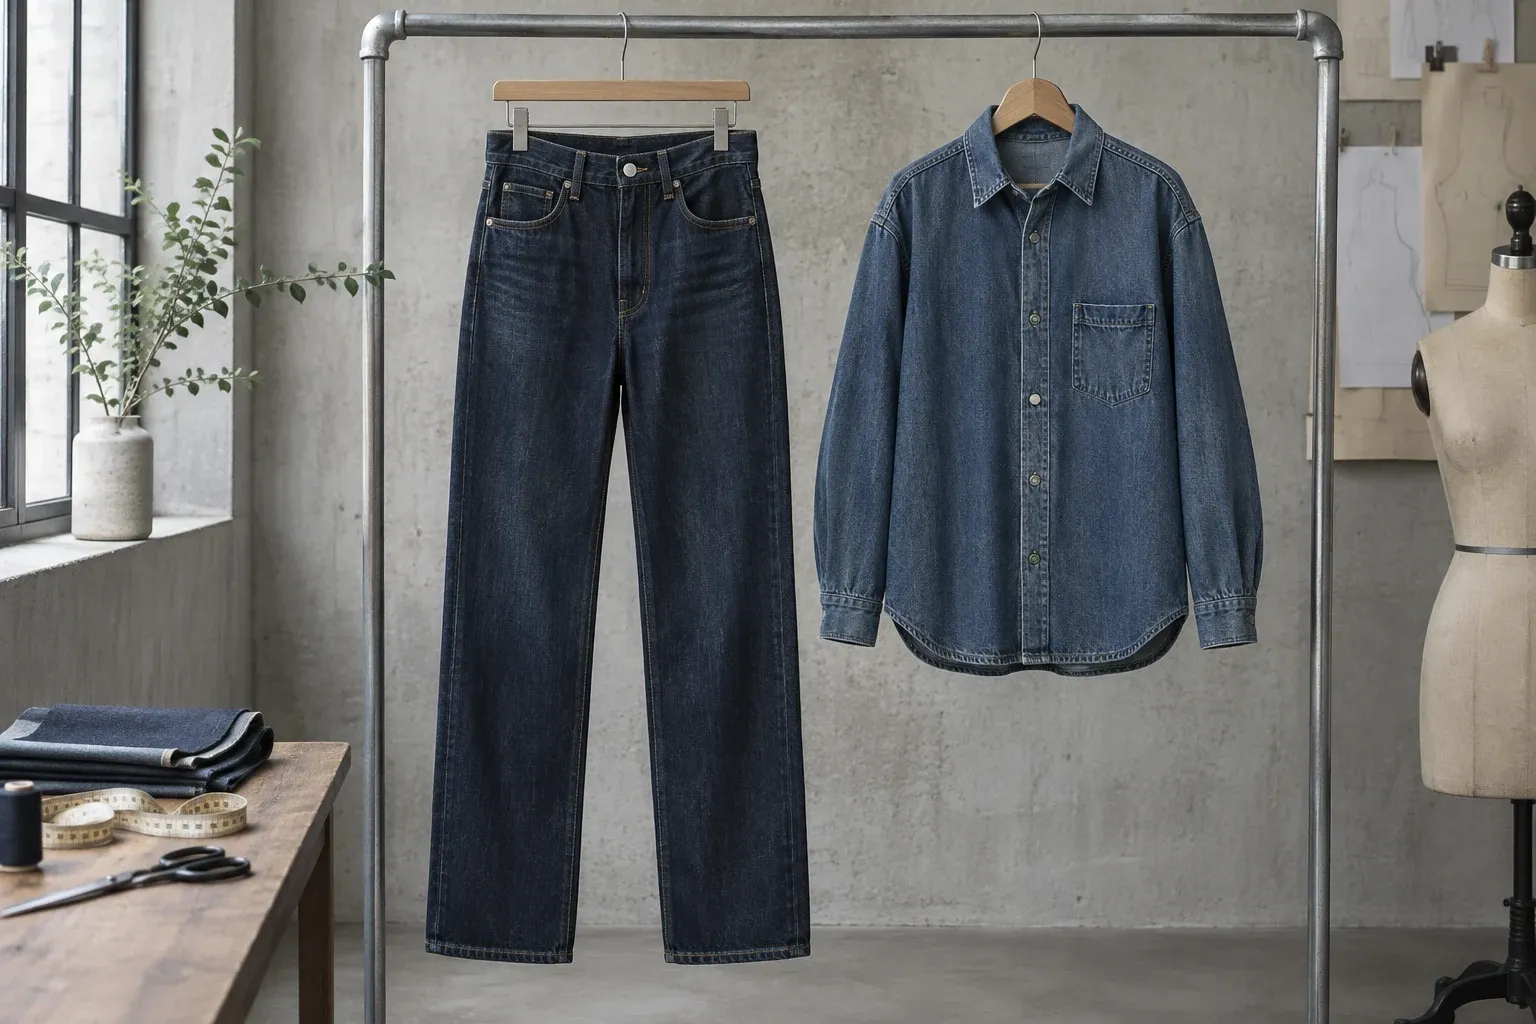
Explore how fabric, washing, pockets, yokes and stitching combine in jeans and overshirts.
Start Denim Development with a Comparable Foundation
Denim differences can come from fit, fabric, washing, stitching and pocket placement. Changing them all may create striking samples without explaining the source of the effect. Fix a basic silhouette first, then compare development routes to build the brand's collection language gradually.
This article mainly uses straight-leg jeans and considers extensions into overshirts. Color, aging and silhouette discussions are design analysis, not claims that any particular treatment is already mainstream in the market. Suppliers must confirm final material and process choices against actual fabrics, equipment and treatment conditions.
Route 1: Keep a Dark Surface and Let Structural Lines Create Identity
Dark finishes with limited localized variation draw attention to fit, yoke, back pockets and stitching. Keep front waist and fly neat; assess back-pocket shape, spacing and angle within the complete back. Isolated pocket views miss relationships with seat proportions and yoke position.
Retain front, side and back fitting photographs, comparing waist/hip, crotch, knee and opening before decorative thread colors. Highly contrasting stitching may emphasize unconfirmed proportions. After basic-pattern approval, review actual threads and stitch panels for the overall effect.
This route is not necessarily technically simple. Fabrics, interfacing and trims still create bulk at waistbands, pockets and fly. Check seams, folded edges and post-care appearance in dark fabrics with project-specific validation rather than omit review because surface variation is limited.
Route 2: Keep the Fit and Build Depth Through Washing
Compare treatments on one basic fit, recognizing different roles for swatches and garments. Swatches initially assess color, feel and surface; whole garments reveal seams, pocket openings, waistbands and trim-adjacent effects. Swatch approval still requires garment confirmation; a small panel's tonal depth cannot simply be extended to the entire product.
Treatment affects dimensions and appearance together. Link raw fabric, pre-treatment samples and treated garments by code. If treated legs look narrower, check actual dimensions and material condition before changing the pattern. Widening from one photograph may confuse different causes.
Assess localized aging against the worn silhouette. Positions change between standing and sitting, and knee positions need review across sizes. For natural variation, define allowable scope and retain representative samples; for consistent collection effects, agree workable controls with process specialists.
Each Treatment Version Corresponds to Defined Conditions
Link fabric, thread, trims and treatment versions in records. Even with unchanged main fabric, confirm the effects of different hardware, stitching or interfacing with process specialists. Avoid separately approved stages with no joint review of the final combination.
Distinguish approved effects from exploratory directions. A light-wash sample comparing tone does not approve dimensions, trims or bulk manufacturing. Purpose labels clarify selection discussions and help purchasing arrange the next sample rather than move a display effect directly into orders.
Route 3: Change the Silhouette and Reassess Pockets and Weight
Extending a straight-leg base into wider legs or shorter lengths requires more than opening or hem changes. Waist, hip, crotch and leg room redistribute; review back pockets and side seams in the new silhouette. Light and supportive fabrics at the same width may create different volume, requiring iteration between material and pattern.
For a denim overshirt, shoulder–sleeve mobility, collar and placket become new priorities. Grouped chest pockets, buttons and front seams may create significant local thickness. Make an actual-material front panel with trims before deciding on double pockets, flaps or multiple decorative stitch rows.

Review details through three questions: does stitching clarify structure, are pockets usable, and are stress-point manufacturing requirements defined? Double stitching, rivets and reinforcement should serve specific locations and uses rather than remain visual symbols.
Where to Investigate Four Observations
Side Seams Rotate Forward or Backward
Check pre-/post-treatment records, cutting and sewing before joint pattern and process review. Do not hide the symptom by moving visual lines. Maintain similar posture and material-resting conditions to avoid misleading photographic angles.
Pocket Openings Pucker and Pull the Front
Check pocket-bag direction, anchors, opening finish and adjacent materials rather than simply reduce the opening. Load usual items, then walk and sit to distinguish capacity, tension and local workmanship. Record issues present before and after treatment separately from newly introduced ones.
Color or Surface Differs Around Trims
Record trim model, installation stage and treatment conditions, then assess against the approved effect with process specialists. Changed buttons, zippers or interfacing require full-combination review; previous results do not automatically carry over.
Top and Bottom Colors Are Close but the Set Lacks Harmony
Compare both pieces under the same light and at the same distance for tone, surface and light/dark depth. Separately approved samples may not create the intended relationship. Review the set together while allowing deliberate differences.
Final Selection Should Establish a Reusable Development Route
The three routes need not all be adopted. For basics, clarify fit and dark finish first. For added visual depth, compare treatments on a stable base. For category expansion, resource new fitting and manufacturing validation. Every change then has a defined goal.
Keep rejected samples as comparisons with reasons for rejection. They remind future teams of conditions under which apparently fresh ideas failed, preserving decision evidence alongside attractive photographs.
Before changing fabric, identify judgments that remain valid. Silhouette photographs may still guide direction, but treated dimensions and feel may not apply. Arrange suitable swatch, local-process and whole-garment review rather than blindly repeat everything or retain everything.
At handover, link approved garments, material codes, treatment requirements and measurements, specifying acceptable effects and issues requiring correction. ‘More vintage’ or ‘more natural’ cannot replace full process instructions. Comparable products and records keep later sampling, repeats and collection expansion moving in the same direction.